
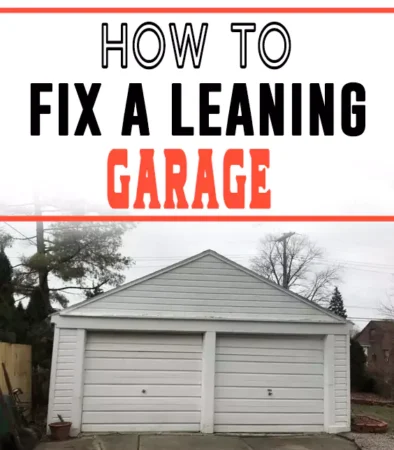
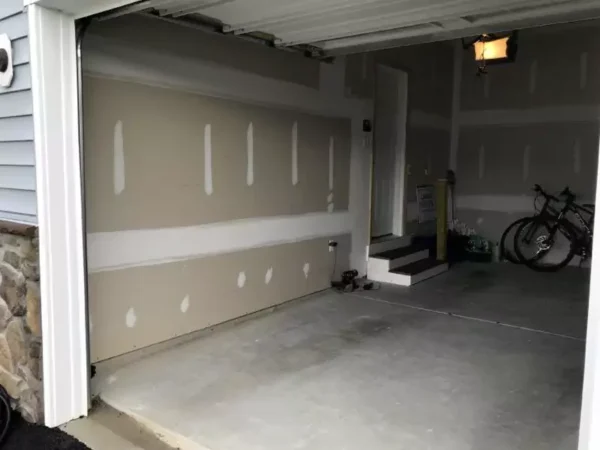
Like any other structure, your home garage may experience structural problems.
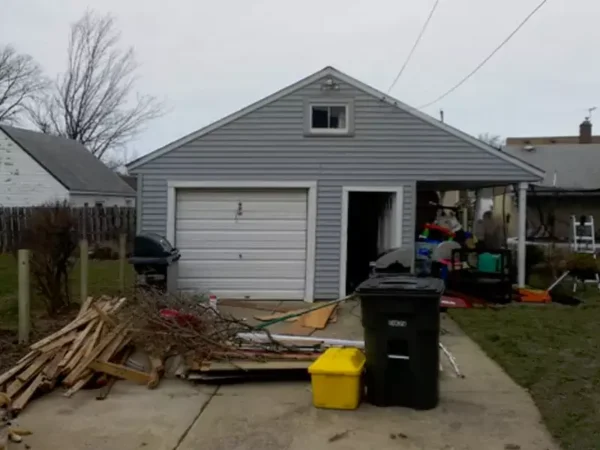
Whether you have a detached or attached garage, you may experience structural issues such as sinking, flooding, uneven floors, and even leaning. Even worse, there’s no standard cause for a leaning garage.
Such structural problems can be caused by various factors, including soil degradation, poor climate, rotting material, or outdated structural construction, to name a few.
The good news is that you may be able to fix your leaning garage, eliminating the need to spend thousands to pay a contractor for a new structure.
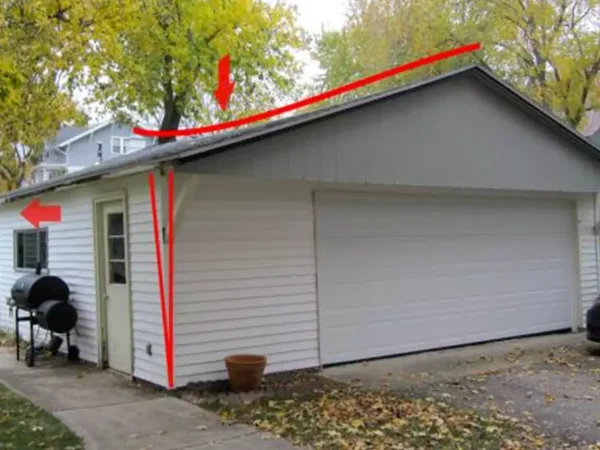
Can a Leaning Garage Be Straightened?
Straightening a leaning garage highly depends on its state. If your garage leans slightly, you can straighten it on your own. However, a more severely leaning garage may not be easy to fix on your own.
In this case, you will have two options. First, you may hire a professional contractor who can handle trickier jobs to help you straighten your garage. Alternatively, if your garage has leaned more severely, you may have to build new walls to straighten it.
This alternative still requires the skills of a professional building contractor. You have to be well versed with the wall measurements and other key construction principles while keeping the building codes of your city/state in mind.
However, you may be able to fix a mildly leaning garage using the steps outlined below.
5 Steps to Fix a Leaning Garage
At first, fixing leaning garages may seem like a difficult DIY job. However, if you’re already handy around the house, you’ll likely have some of the tools and skills that you need.
But first, let’s see exactly what tools you’ll need for the process.
Tools Needed
To successfully stabilize a leaning garage, you’ll need several key tools. However, the process has to be properly planned to avoid making any mistakes in between. So, you need to have all the tools ready.
- Electric drill
- Threaded screws/screw eyes
- Ratcheting cable hoists (you can replace them with a strong chain or strap if you don’t have them at home)
- Wood or metal stakes
- Carpenter’s level
- Diagonal corner braces
- Circular saw
- Hammer
- Phillips head screws
- Nails
- Protective gear – helmet, safety goggles, gloves, covered shoes (ideally boots), coveralls (avoid loose-hanging clothing)
Step 1: Prepare the Leaning Garage
Put on your protective gear before you start work. Identify the angle at which the garage leans. On either side of the leaning wall, use the electric drill to create a small hole.
Through the hole, use the siding to insert the threaded screw into the garage’s corner stud. Next, you want to secure the threaded screw.
Step 2: Secure the Threaded Screw
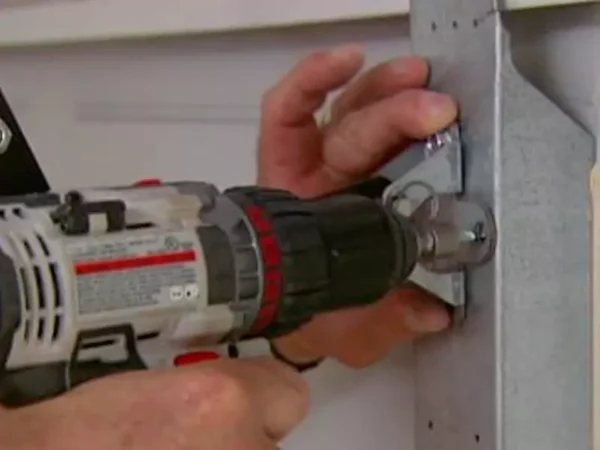
Install a stake to the ground. Attach one side of the ratcheting hoists to the threaded screw and the other side to a stake set on the ground.
Securing the hoists is a critical step because you will use them to straighten the garage.
Step 3: Straighten the Garage
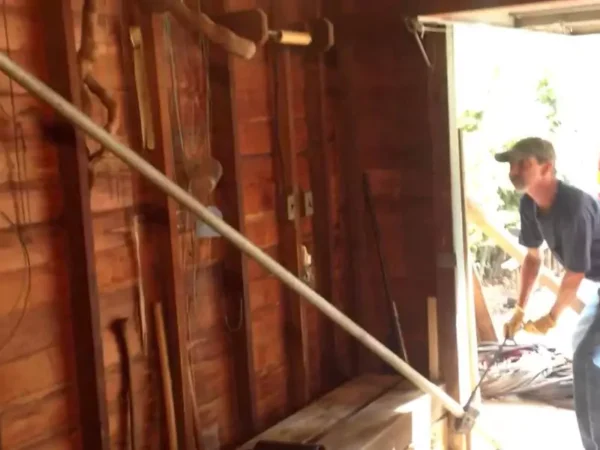
Before straightening the garage, tighten the hoists on either side. Then, slowly pull it towards the opposite side of the leaning garage. Doing so, you will notice the garage gradually straighten.
However, you want to be extra careful and patient during this process. Pulling the hoists quickly may risk splitting the wall. Once you are satisfied that you’ve pulled the wall enough, you will want to check that the garage wall is now vertical.
Step 4: Level the Garage
Leveling a garage wall requires a carpenter’s level. The level helps you measure and ensure the wall aligns properly. When measuring your garage, make sure it’s straight from the bottom to the top to confirm it’s leveled.
This step is not the final one. You still want to secure the garage wall to prevent future leaning.
Step 5: Secure the Wall
Inside the garage, install diagonal corner braces, with every single brace crossing more than four studs in the garage.
Doing so provides lateral stability and prevents the walls from collapsing or leaning further. Diagonal braces can also reinforce the roof to prevent collapse.
To install the studs, cut the stud point with a circular saw and attach the brace to each stud. Then, hammer in the nails to securely fasten the braces.
Once the studs are securely fastened, you can go to the exterior of the garage and remove the hoists, stakes, and threaded screws. After this step, the garage will be securely held by the braces, and you can continue to use it.
Precautions to Take While Repairing Leaning Garage
When doing garage leaning repairs, you want to take several precautions to prevent any further damage or injuries to yourself and the people around you. Here are the common things to consider;
Always Know the Building Codes
You want to have the building codes of your city and state in mind when repairing your garage to avoid breaking any. You can easily make mistakes without noticing.
For example, many garages built in the 80s and 90s were built straight into the ground. In turn, garages built during this time are mostly associated with garage leaning foundation problems.
If you need to rebuild your garage walls, building them directly into the ground is now against building codes in many places.
In addition to keeping different building code elements in mind, before repairing your leaning garage, confirm whether you need a permit and inspection.
Use the Right Tools
Fixing leaning garages poses several hazards. So, to protect yourself, ensure you have the right tools for the job and, of course, protective gear for yourself.
For example, broken-down hoists can easily cause the wall to fall on you.
Figure Out the Extent of the Problem
If you notice that the leaning of your garage may potentially cause enormous damage, you are better off calling a professional.
Alternatively, if you still want to work on it, you have to understand the extent of the damage before tackling the project.
For example, if the leaning of your garage is caused by soil degradation or movement, other components of your household may be at risk.
A good example is the leaning garage may have plumbing pipes underneath. In this case, if fixing the garage poses the risk of coming in contact with the pipes, you need to know this in advance.
Is a Leaning Garage Dangerous?
A leaning garage is most definitely dangerous. Leaning garage walls can collapse at any time.
Collapsing walls can easily cause bodily injury or damage property such as vehicles. However, it’s not only the walls you should be worrying about.
Depending on the factors that cause the leaning in the first place, other parts of your household may also be at risk of damage.
A good example of this is soil erosion, which can undermine foundations and cause flooding.
Cost To Fix Leaning Garage
The cost of fixing leaning garages varies depending on the extent of the problem. A simple garage wall straightening job will not cost you much.
If you follow our guide above, the most you still spend on the job would be around $350 to $400. What brings up the cost is typically an electric or ratcheting cable hoist*, which sells for about $300.
So, if you use chains or straps, you will significantly bring down the cost. On the other hand, if your garage is leaning too much, you may have to install temporary supports.
Utilizing temporary supports can raise the cost of the fix to about $1,000. If you hire a contractor for the jobs, you will definitely pay more.
Conclusion
While it may look overwhelming, you can fix a leaning garage with the right tools and knowledge.
So, if you notice a slight incline or tilt in your garage, you don’t have to worry about breaking the bank and calling a professional contractor.
Nonetheless, even with a small garage leaning problem, you still want to investigate the root cause to ensure future safety and stability.
After all, various factors contribute to a leaning garage, whether an outdated structure, termite infestation, or soil movement.
Moreover, before fixing your garage, make sure you are up to date with any codes or permits mandated by your city and state.
*Paid Link: As an Amazon Associate, I earn from qualifying purchases. Should you decide to purchase a tool through this link, I will get a small commission. The price of the tool won’t be any different to you.
Recent Posts
Many DIY lovers and engineers want to build something cool in their garages. What's cooler than a kit airplane? In this setup, the builder receives parts and puts them together in their own space....
Diamond blades have various uses, from cutting tiles and glass to cutting gems and semiconductor materials. If you’re planning to start a renovation or building project, you’ll need a diamond...